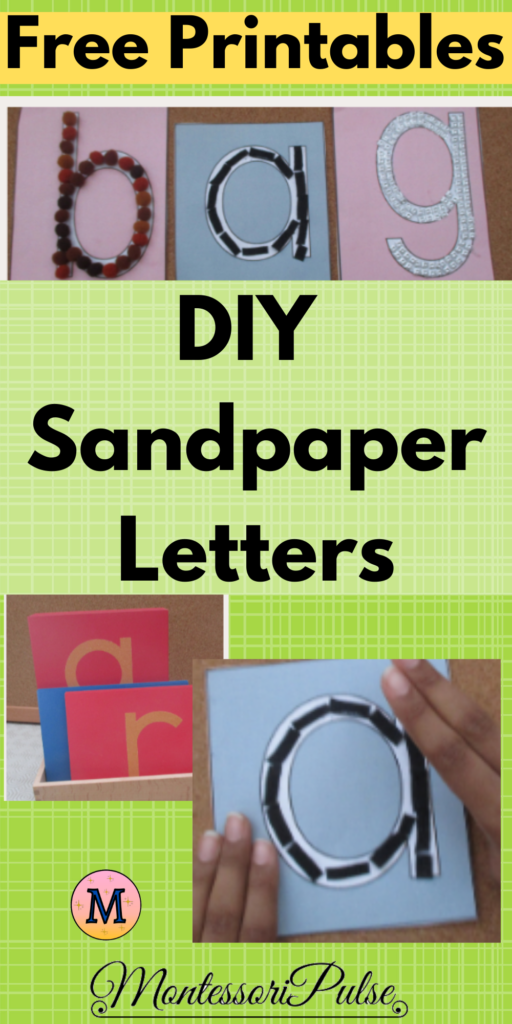
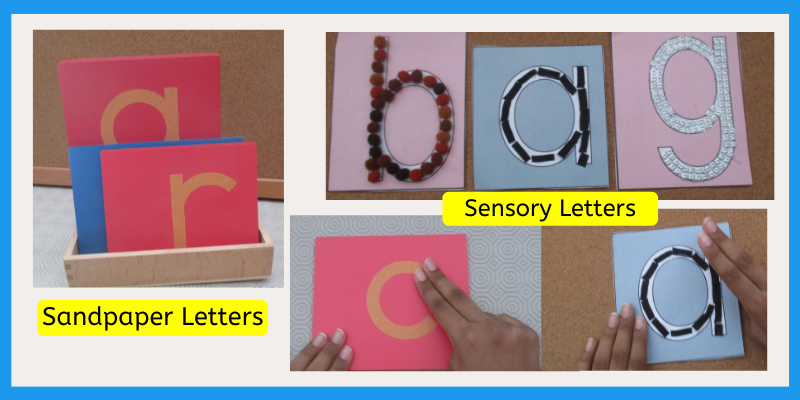
Montessori Sandpaper letters are designed to give a concrete touch to the letters of the alphabet. These DIY Sensory Letters are easy and budget-friendly. Some preschool teachers call them bumpy letters. There are tons of ways to make them and they all serve the same purpose. Muscle memory and indirect preparation for writing.
Download the Free Alphabet outlines in colour and B&W from the MontessoriPulse Free Resource Library

- We can replace the wooden slabs with cardstock.
- Print out the Sandpaper Letters from the Language Resource Pack.
- Print them directly on card stock to avoid the extra step of pasting them on cardboard. If you are using letter outlines, print them on coloured cardstock. (consonants in pink and vowels in blue). If you are using the coloured letters, print them on white cardstock
- Glue something tangible to fill the letters.
- Glue and Sand– Super easy. Super fun. This can be a fun craft project to do with your child. (Keep in mind that it cannot be a free craft. Because we want a perfect letter shape at the end)
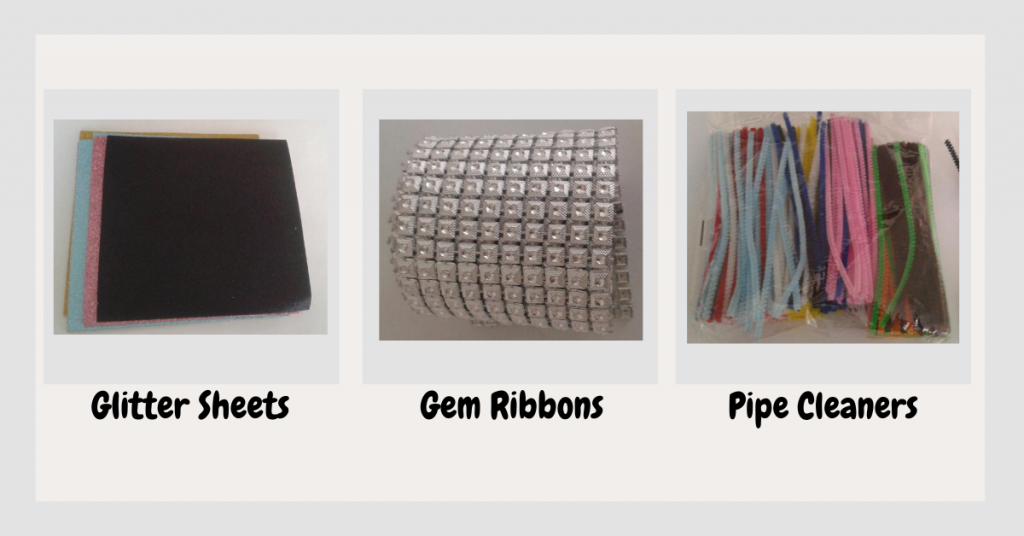
- Gem stickers – choose the ones that come as lines.
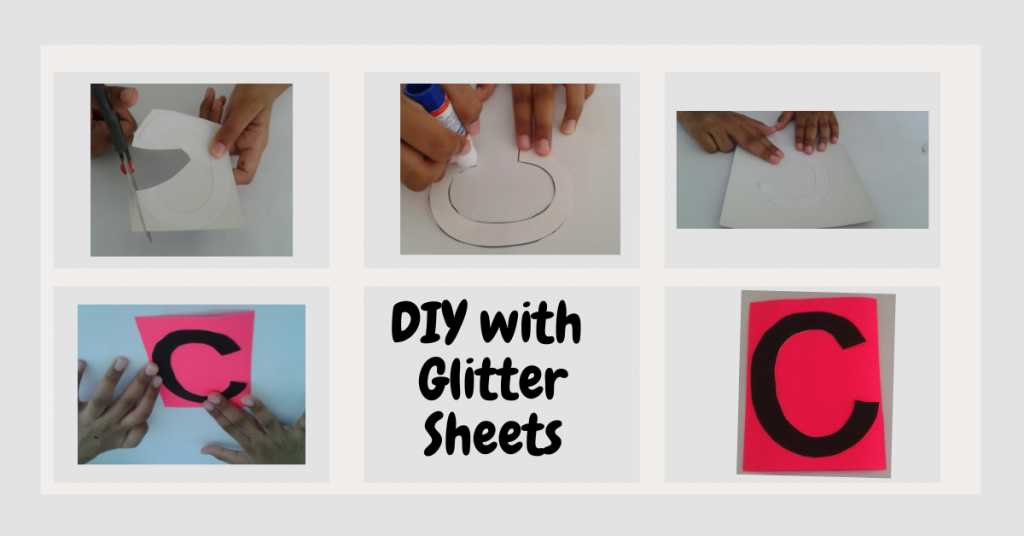
- Glitter/Foam Sheets – Cut out the letter shapes with glitter or foam sheets (see below) – for this method do not print directly on the cardstock. Print them on regular paper and use them as outlines or guides to cut the same shapes with glitter sheets. Adhesive glitter sheets will make your project much easier. But regular ones are cheaper and will work fine.
- Pipe cleaners
- Sandpaper – Cut out letters with sandpaper. This is the ideal option and the closest to the original Montessori material. But it can be hard to cut letters out of sandpaper unless you are up to it!!
- Anything tactile that can provide muscle memory


Pretty! This has been a really wonderful article. Thank you for supplying these details.
Pingback: Homepage